How to install Dynamics 365 Report Authoring Extension from Scratch
I rarely create/update reports. And to be honest, my knowledge actually stuck on creating reports using "Report Builder" which at that time we still used the On-Premise version to query the things we needed to make the report. While the latest version uses Fetch XML and forces us to basically install the extension that we will cover today. So, when I got one, it was very frustrating to install the tools needed step by step. So here is how to install everything from scratch!
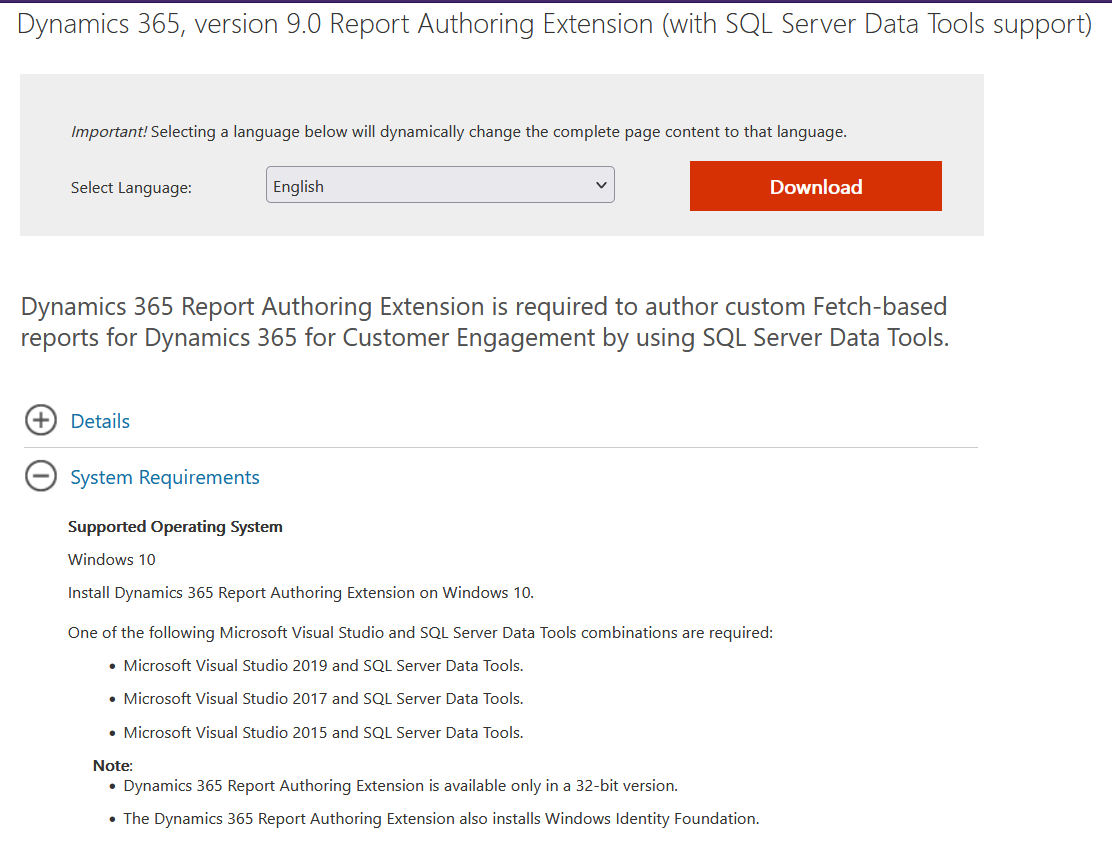
First, you need to know the requirement to install the stuff. If you go to https://www.microsoft.com/en-us/search/explore and go query "Dynamics 365 report authoring extension", you will find several results and you need to find the latest version. The latest one I know is "Dynamics 365, version 9.0 Report Authoring Extension (with SQL Server Data Tools support)". Open it and you can see the system requirements:
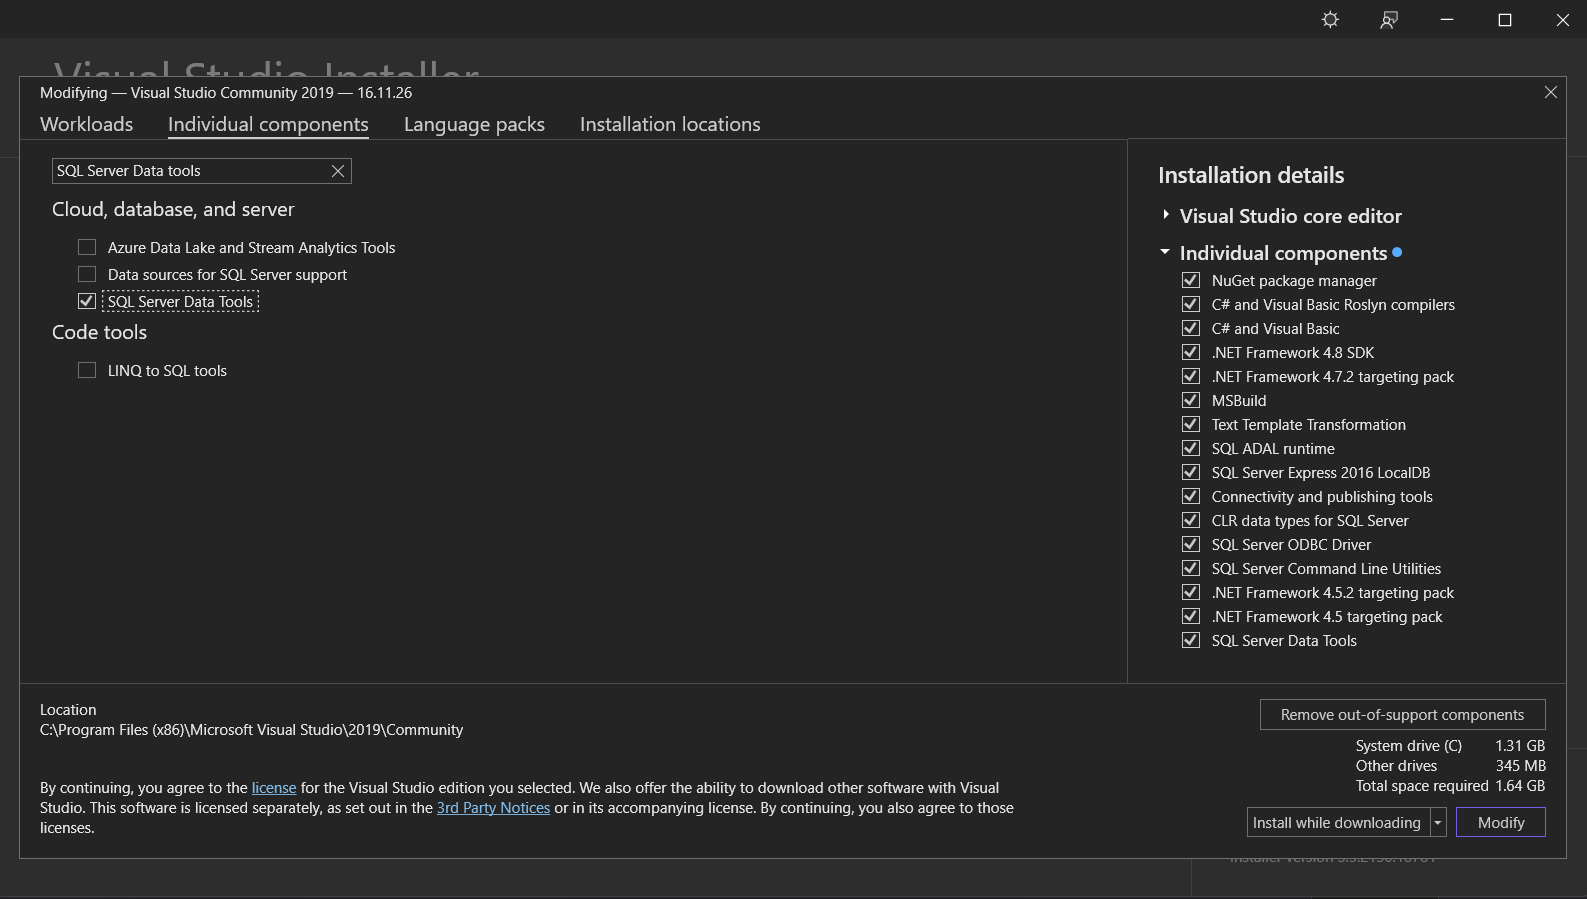
So, if you already have Microsoft Visual Studio installed (mine is 2019), you need to make sure that you already install SQL Server Data Tools. Go find "Visual Studio Installer" > choose the Visual Studio version that you want to use for reporting (I choose VS 2019) > Individual components tab and search for "SQL Server Data Tools" > click Modify and wait until the system finished install it:
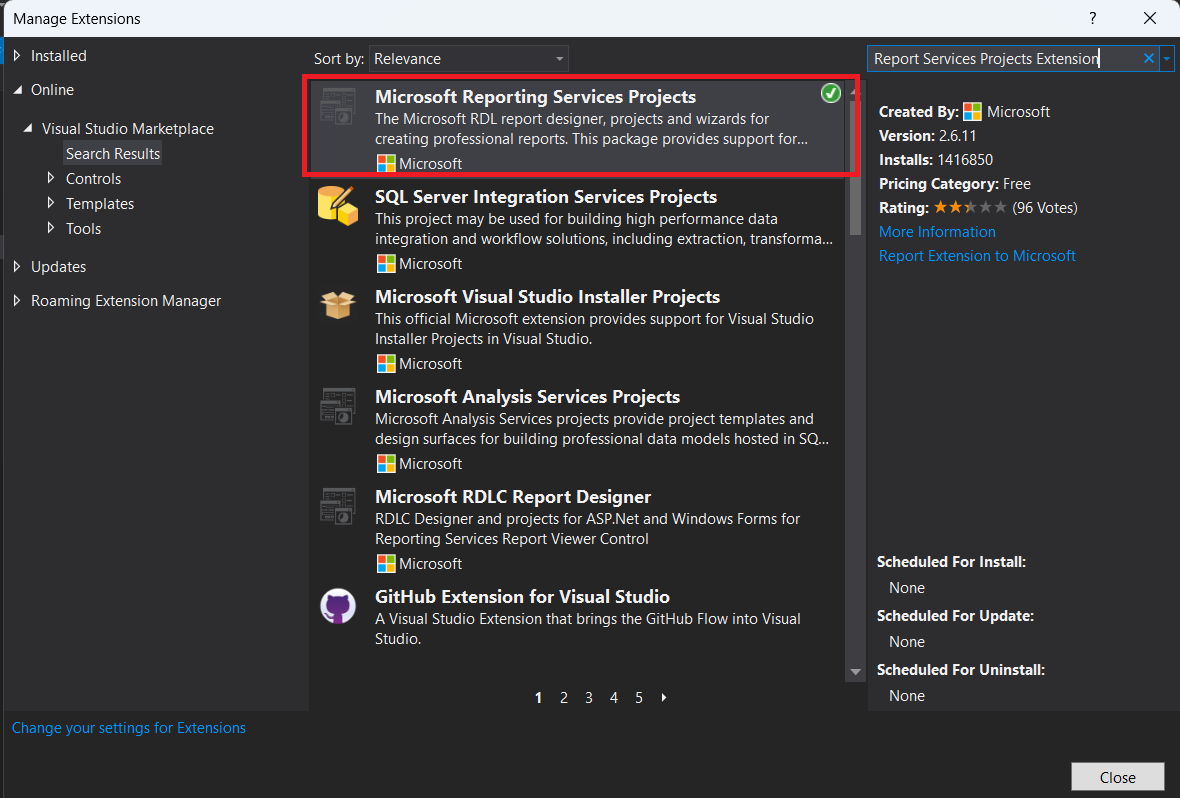
The other prerequisite based on this documentationis also installing the "Report Services Projects Extension". So you can go to your Visual Studio > Extensions > Manage Extensions > and search for "Report Services Projects Extension" > Download and install it.
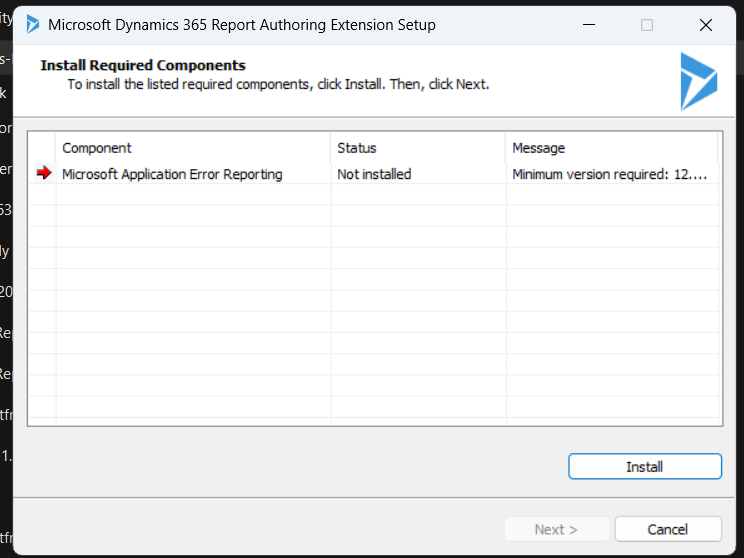
Once you finished the above step, go to download the Dynamics 365, version 9.0 Report Authoring Extension (with SQL Server Data Tools support) > double click on the Exe file (CRM9.0-Bids-ENU-i386) > extract to the folder you want it > and follow the instructions (to choose if you want to update, accept the terms and condition, install required components):
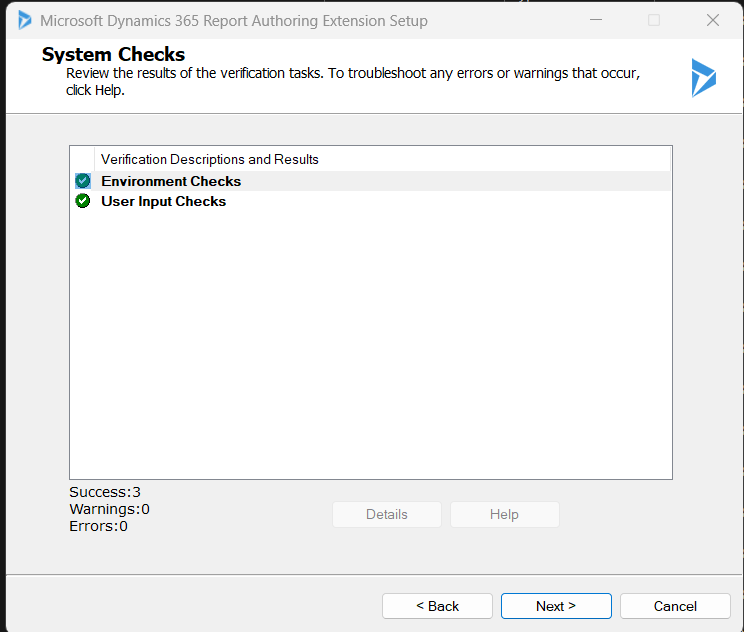
Once everything is done > you select the installation directory. The next step is the System Checks and you suppose to see the below result:
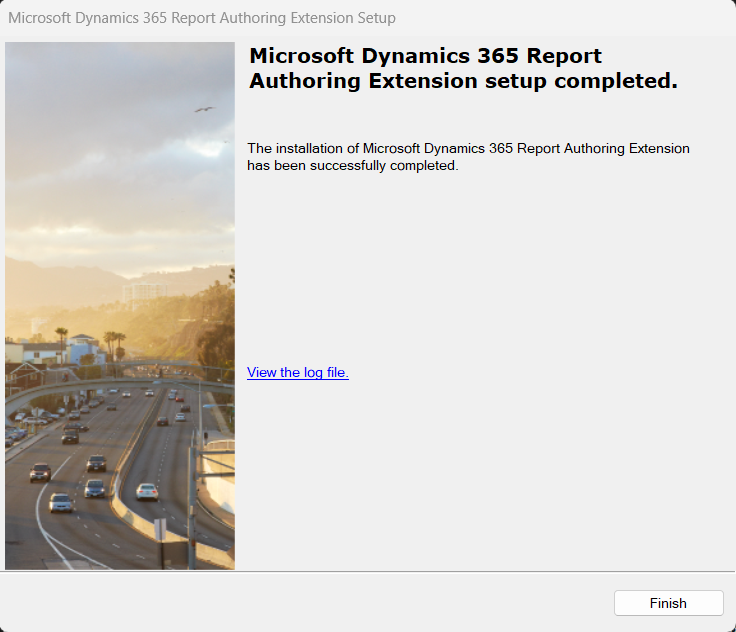
Click the next button until the installation is finished:
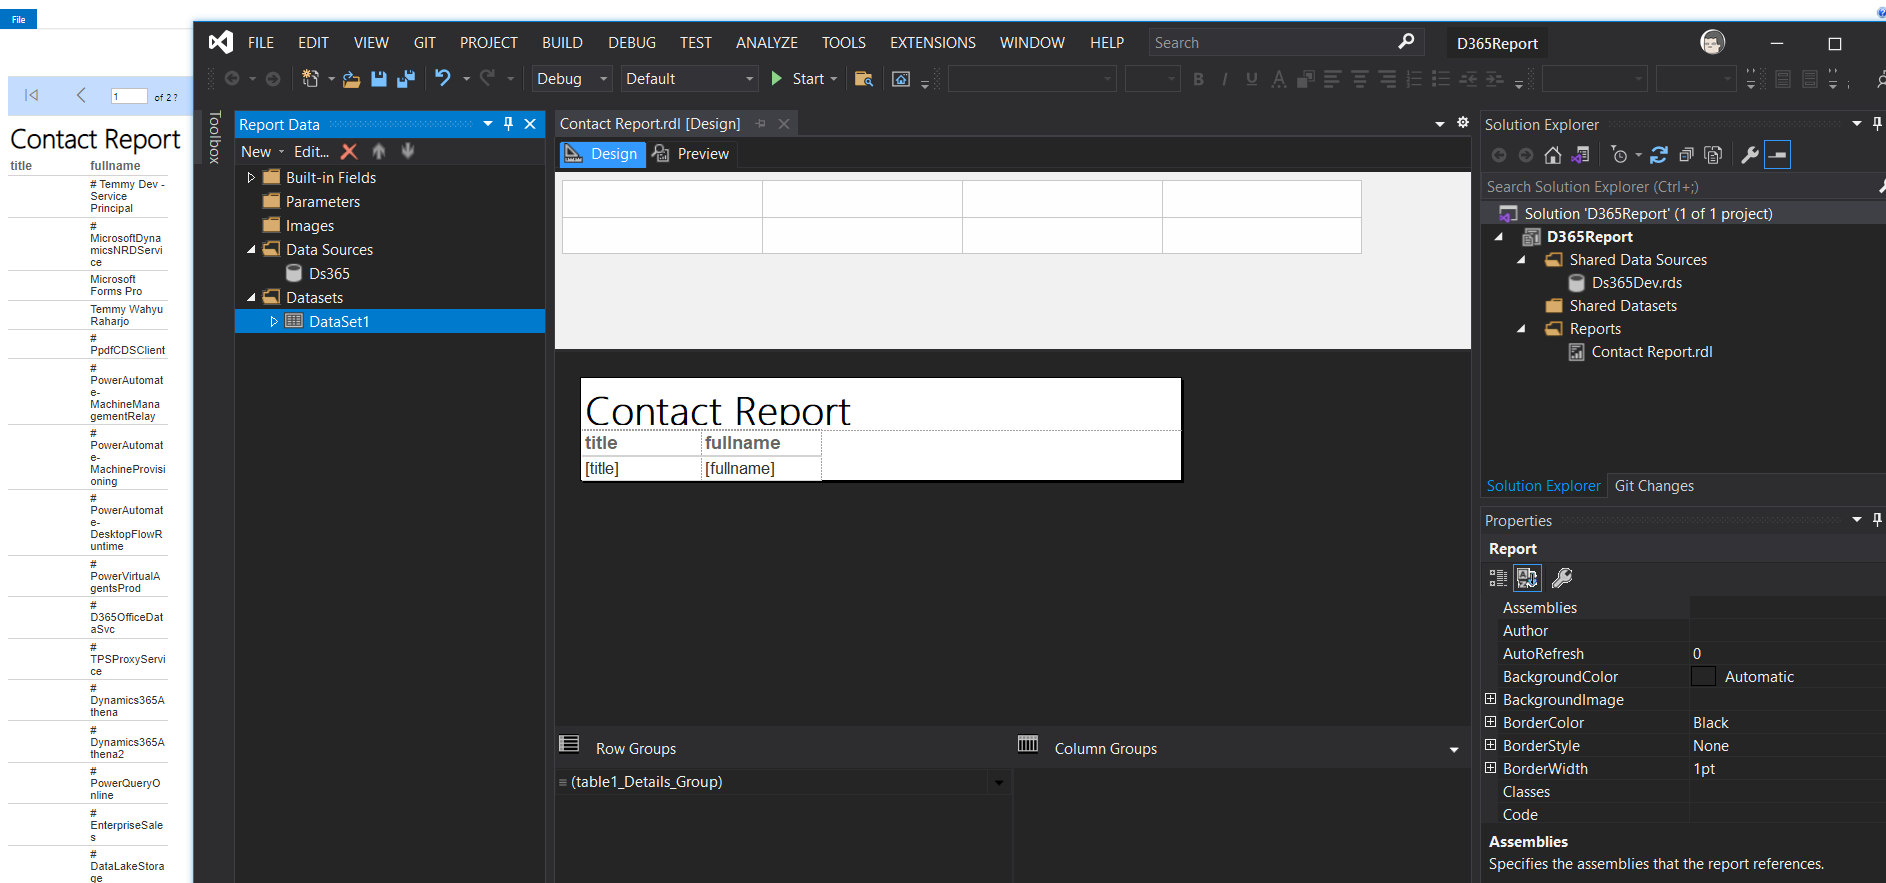
And you are finished! Below is the report project that I created and the result (you can follow this blog post to step by steps create the Report Project + the Report that is still relevant now):
Happy CRM-ing!
Leave a comment
Your comment is sent privately to the author and isn't published on the site.