About Power Platform CLI Solution Command
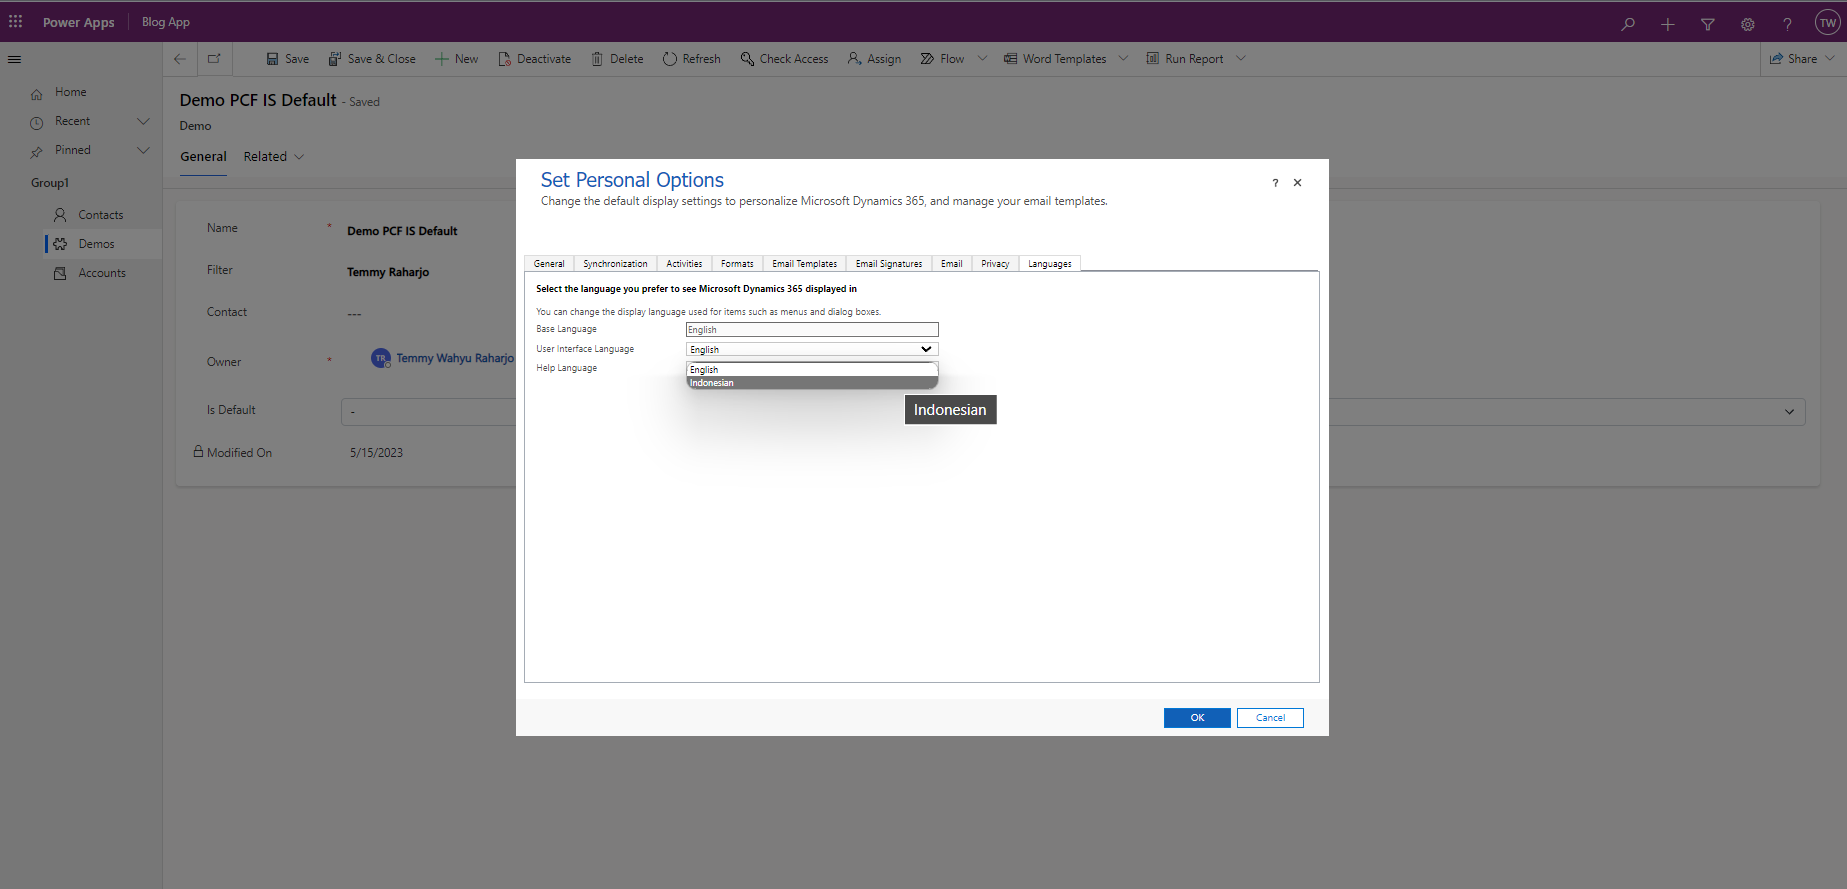
We can use tons of remarkable commands in Power Platform CLI that can be very useful. For example, when changing Localization. Instead of doing it in the usual way which needs to change the Personalization Settings > Languages > Base Language:
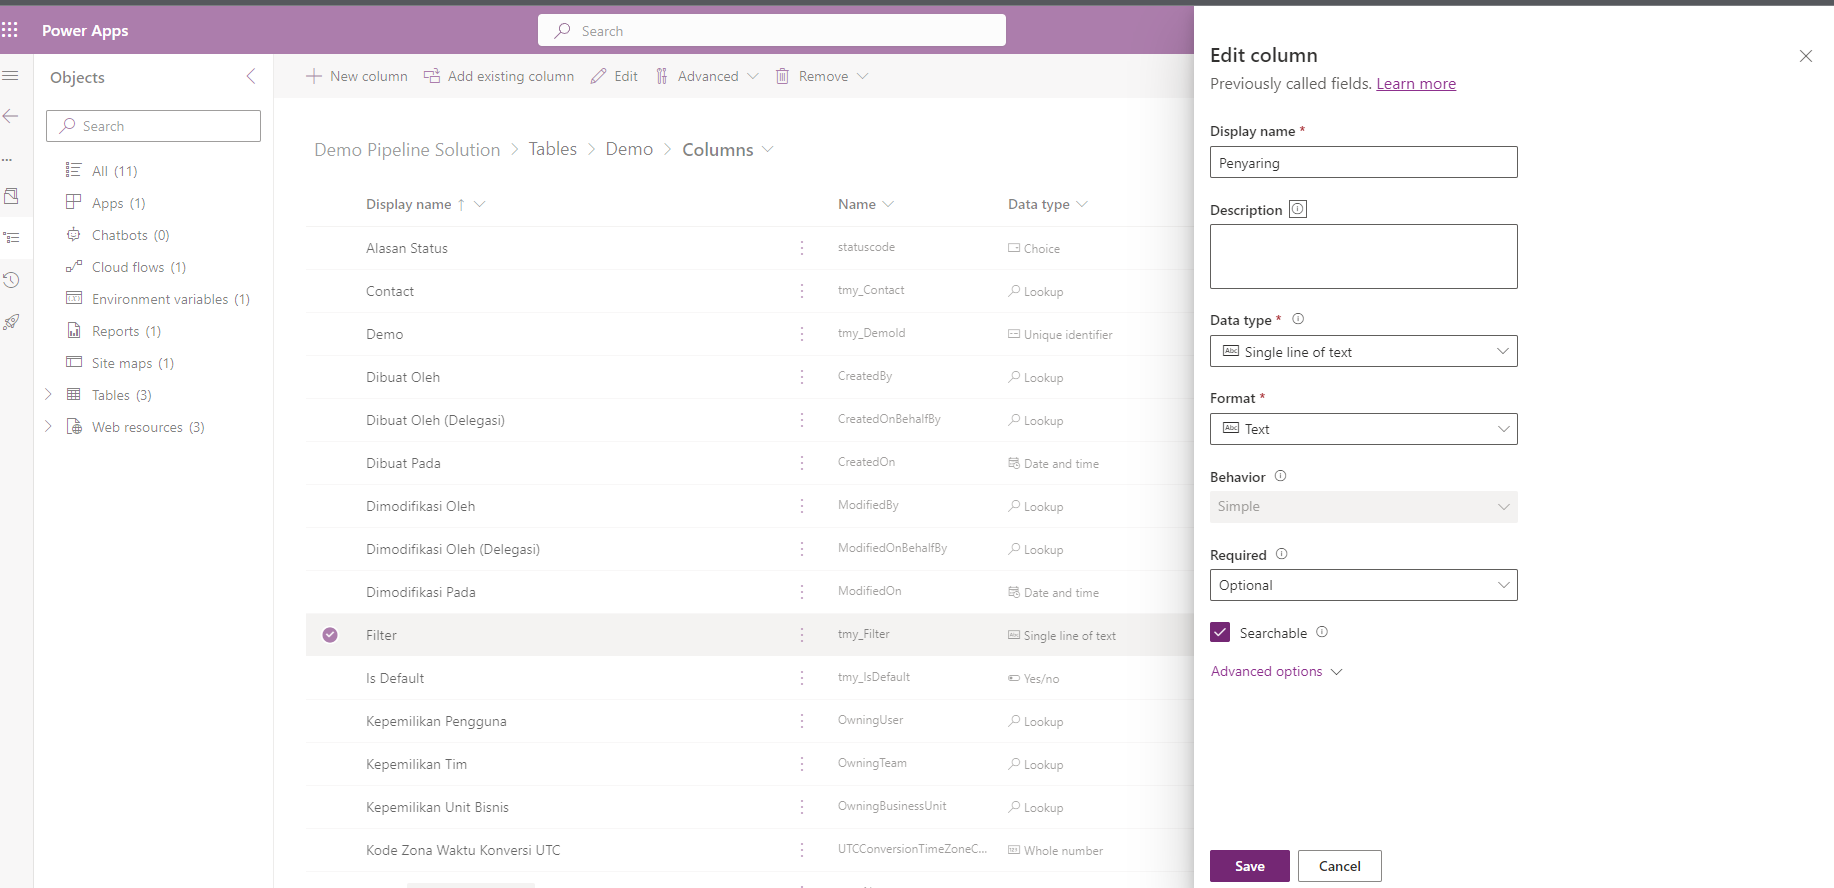
Then we need to go to the component itself in the make.powerapps.com and changed the label and Save it:
Not only the above operations become easier. The 'pac solution' open up lots of exciting ALM that developer can use. Without further ado, let's go!
PAC Solution Clone
Before we begin, you need to make your 'pac auth' ready. Make sure in the 'pac auth list', the one selected is the organization that you want to work with.

Once you are ready, open your terminal/command prompt > change the directory that you want to store your solution with > then you can 'export' the solution in a 'solution unpack' manner. You just need to run the below command:
pac solution clone --name DemoPipelineSolution
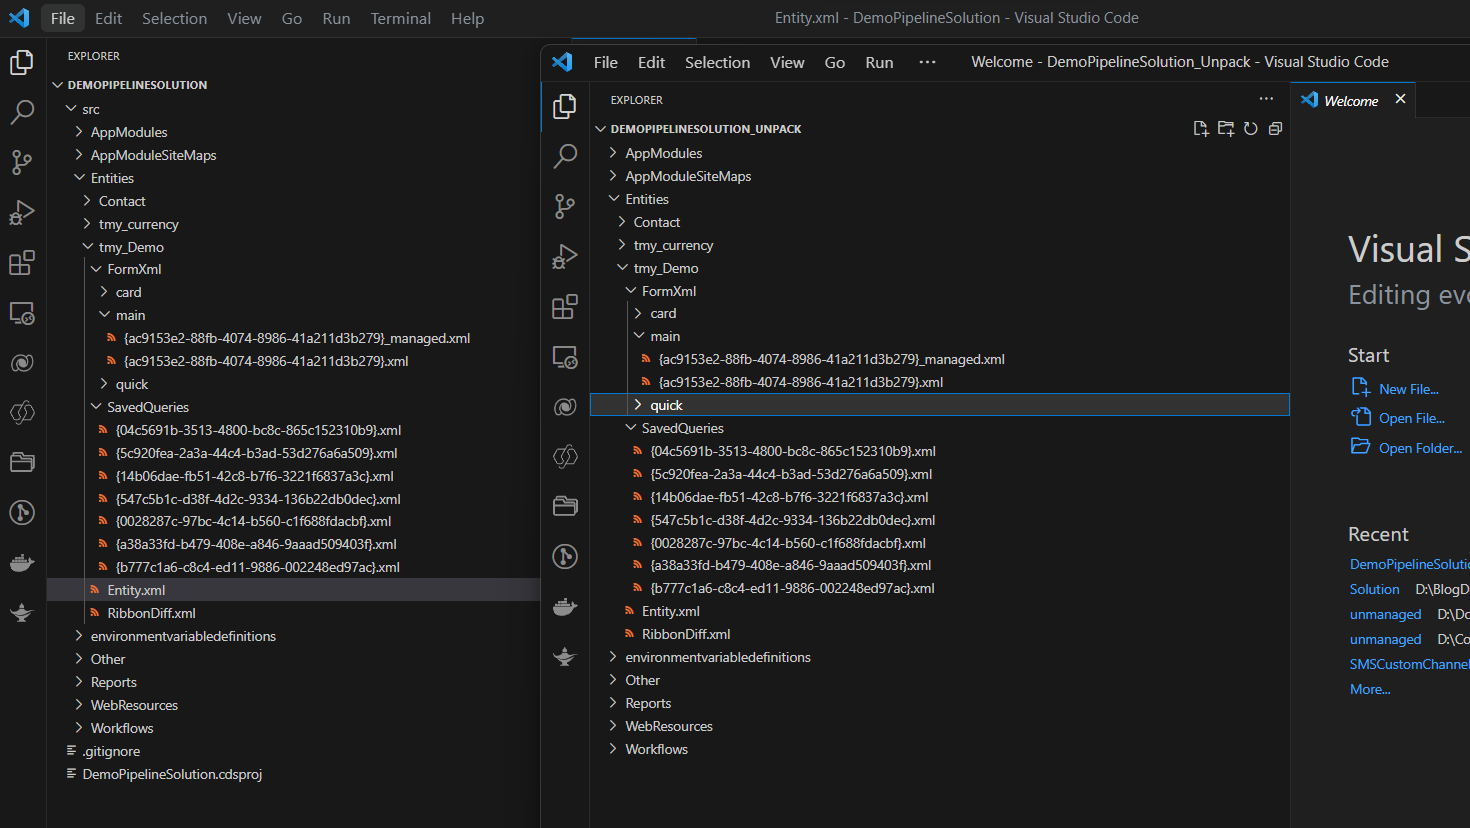
Once it is done, you can check the generated files. Here in the below screenshot, I'm adding the Localization in Indonesian for the Filter attribute (Adding '<displayname description="Penyaring" languagecode="1057" />'):

Once you are happy with your changes, you can save the file and continue the next step.
NB: If you take closely the above picture, at the tmy_Demo > main, you can see that for the same form, there are 2 generated files. One is just plain GUID, others got the suffix "managed". The benefit of using 'pac solution clone' also makes us can 'pack' in both 'managed' and 'unmanaged' ways.
PAC Solution Unpack
To achieve the same result as above (PAC Solution Clone), you need to export both the 'Managed' and 'Unmanaged' of your solution:
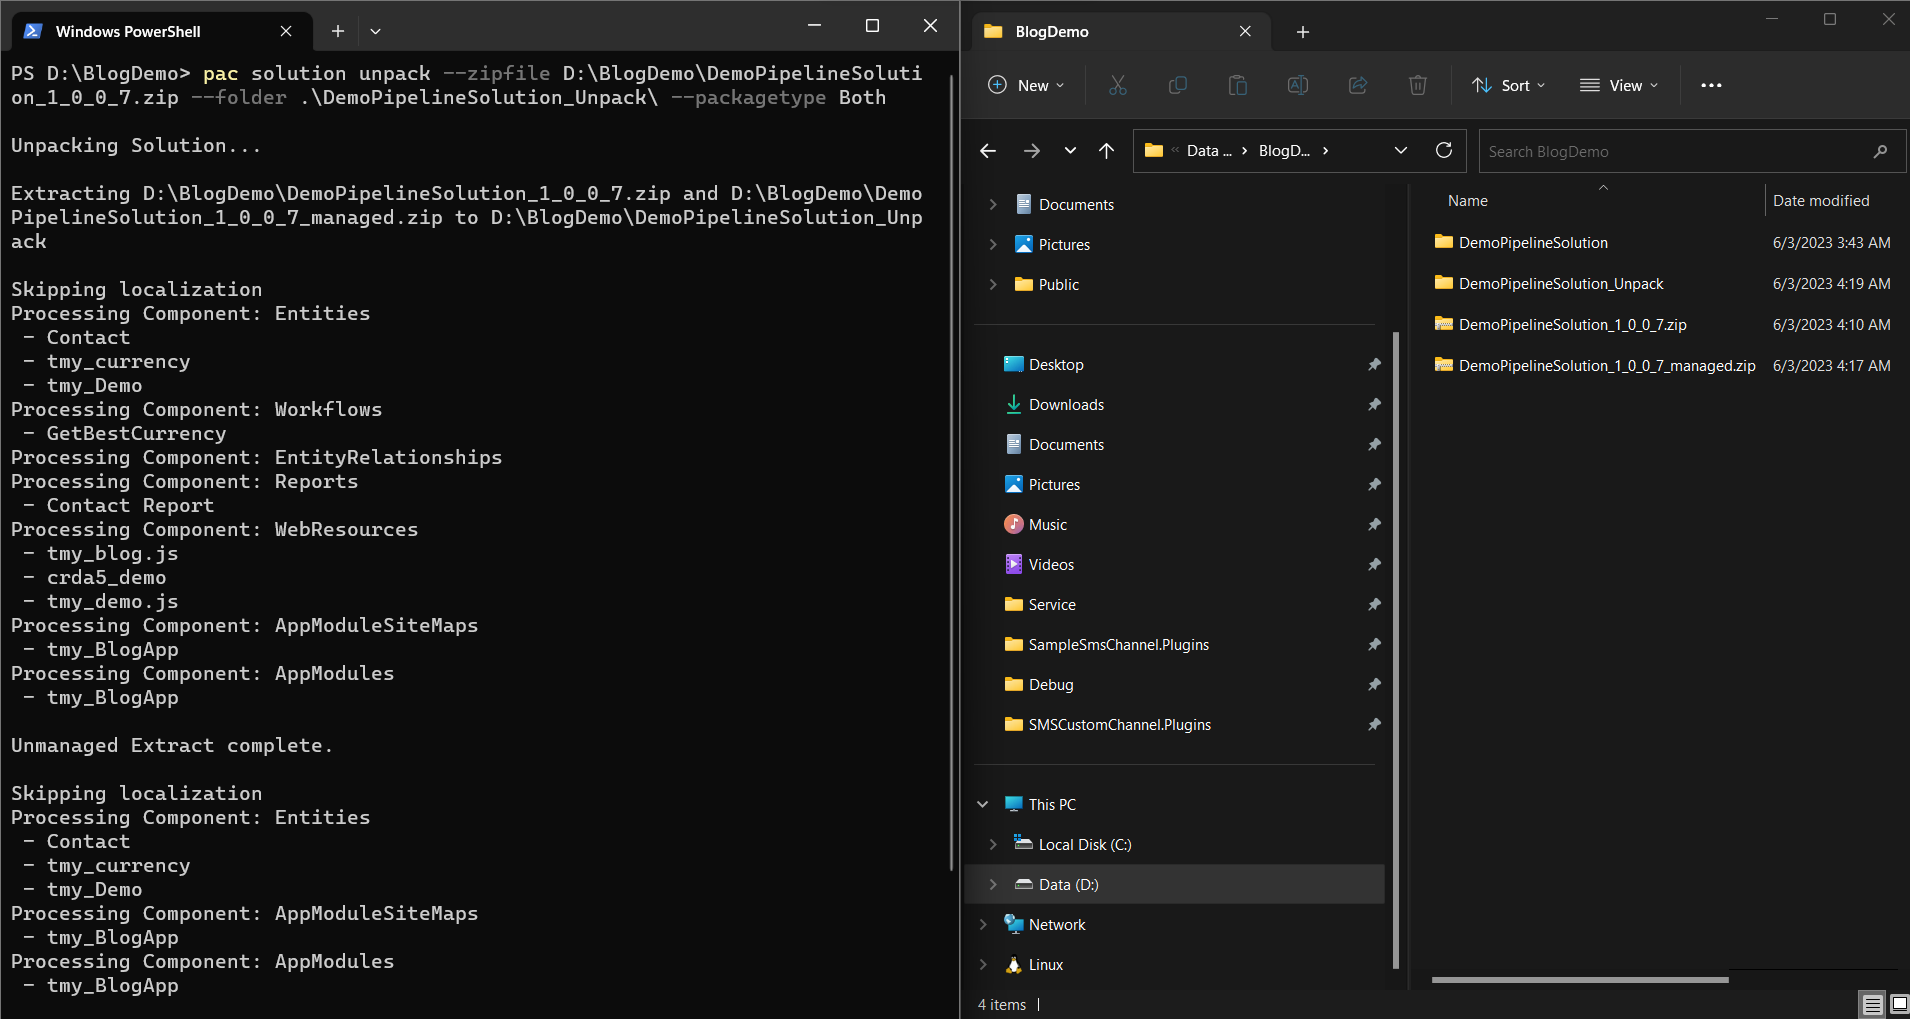
And run the below command:
pac solution unpack --zipfile D:\BlogDemo\DemoPipelineSolution_1_0_0_7.zip --folder .\DemoPipelineSolution_Unpack\ --packagetype Both
In the above demo, I run 'pac solution unpack' and add the parameter '--packagetype Both' which resulting the same structure as 'pac solution clone' (but we don't need to export Managed and Unmanaged manually as the 'pac solution clone' will give us direct result):
The benefit of keeping the file like this is, we can pack 'Managed' or 'Unmanaged' anytime which is very useful for ALM purposes.
PAC Solution Pack
Back again to our main topic, to get an Unmanaged solution (after you add localization/other changes if you know the correct XML for it 🤣) to our environment.
You can run the below command:
pac solution pack --zipfile D:\BlogDemo\LatestUnmanaged.zip --folder D:\BlogDemo\DemoPipelineSolution\src --packagetype Unmanaged
PAC Solution Import
Next, to finally push the changes to our CRM environment. You can run the below command:
pac solution import --path D:\BlogDemo\LatestUnmanaged.zip -pc
It will import the solution and publish the changes in one go 😊.
Then you can verify the changes:
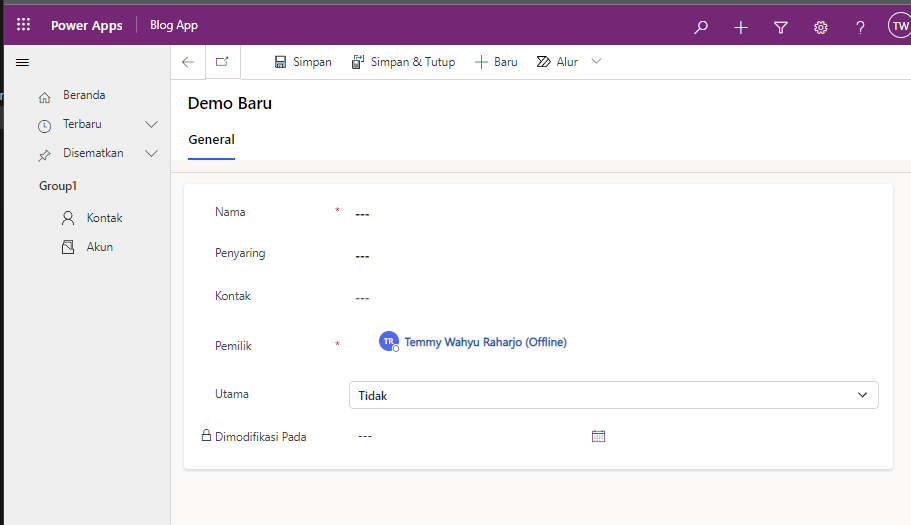
PAC Solution Sync
If there are changes that you are doing directly in the Environment itself and you want to get the changes. You just need to set your terminal/command prompt to the folder that contains .cdsproj, then you can run the below command:
pac solution sync
It will automatically update the files the same as in your Dataverse environment.
Happy CRM-ing!
Leave a comment
Your comment is sent privately to the author and isn't published on the site.