Dynamics CRM: Create Plugin Project Easier + Faster!
Creating plugin projects in the past is not a simple task. You need to remember a lot of steps to make it. From what I remember the steps are: Create .csproj, set .NET Framework 4.6.2, and Install Microsoft.CrmSdk.CoreAssemblies, etc. You can follow this link for the detailed steps for manual creation if you want.
Then I found a very easy way to create a plugin project when I looked at PowerApps CLI, it got a command to help us create the plugin project without any hassle. But before we go there, you need to install the PowerApps CLI from this link. If you already installed it, to make sure you use the latest PowerApps CLI, you need to run this command:
pac install latest
To create the project, you need to run open Developer Command Prompt for Visual Studio (automatically installed when you installed Visual Studio on your machine). The purpose of using this command prompt is that you need to sign the assembly using snk.exe.
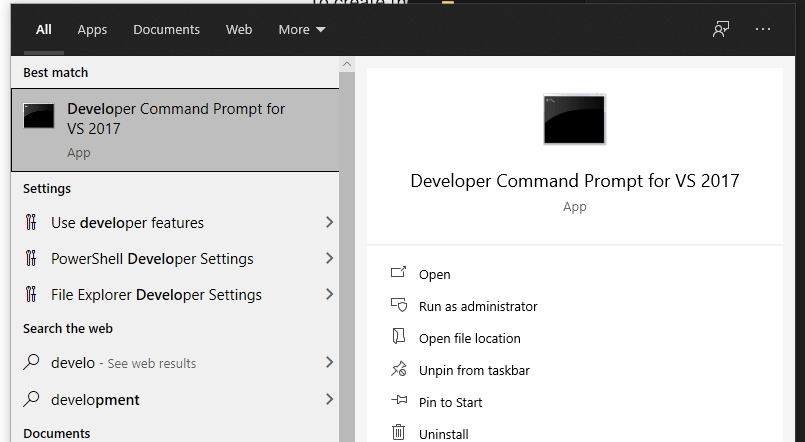 Developer Command Prompt for Visual Studio
After you open this Developer Command Prompt, what you need to do is create the folder to the directory that you want. Remember, the naming of the folder will be the project's name. So make sure you follow the standard naming for it. For example, I give the folder: "D:\Code\Test.Demo.Plugins".
In your Developer Command Prompt, you need to cd (Change Directory) to the above directory path, then run this command:
pac plugin init
Here is the result on the command prompt:
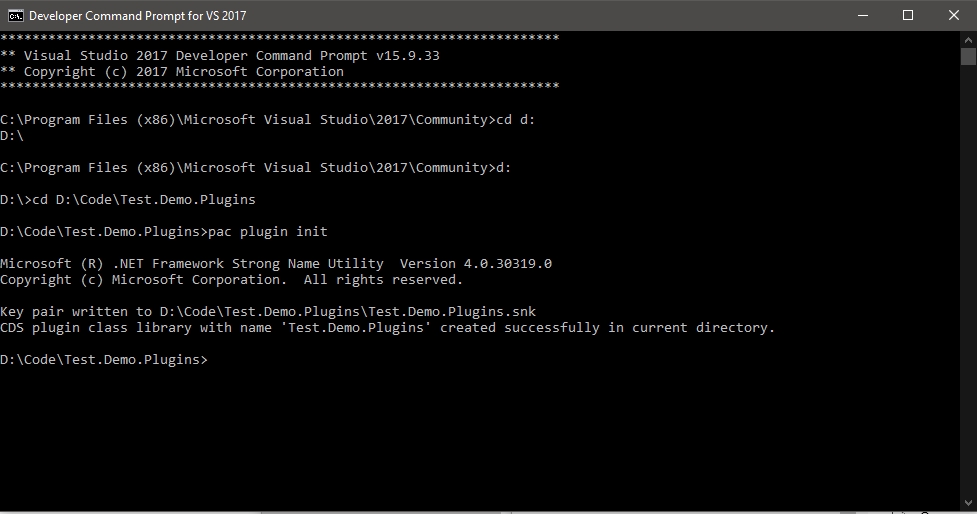 Result after you execute the above command
You can open the *.csproj and try to build it. Your plugin project is ready to be used!
 The project is ready to be used
Leave a comment
Your comment is sent privately to the author and isn't published on the site.